
この CookBook では、Payara の Asadmin Recorder 機能について紹介しています。 Asadmin Recorder 機能についての詳細を知りたい方は Asadmin Recorder を参照してください。
レシピ
- Payara の管理コンソールにログインします。
- 管理画面右上の「Enable Asadmin Recorder」をクリックします。
- 管理画面より設定を行います。
- glassfish/domains/domain1/asadmin-commands.txt ファイルを確認します。
- asadmin を実行します。
1. Payara の管理コンソールにログインします。
Payara の管理コンソールにログインします。 詳細は「管理コンソールにアクセス」を参照してください。
2. 管理画面右上の「Enable Asadmin Recorder」をクリックします。
管理画面右上の「Enable Asadmin Recorder」をクリックします。 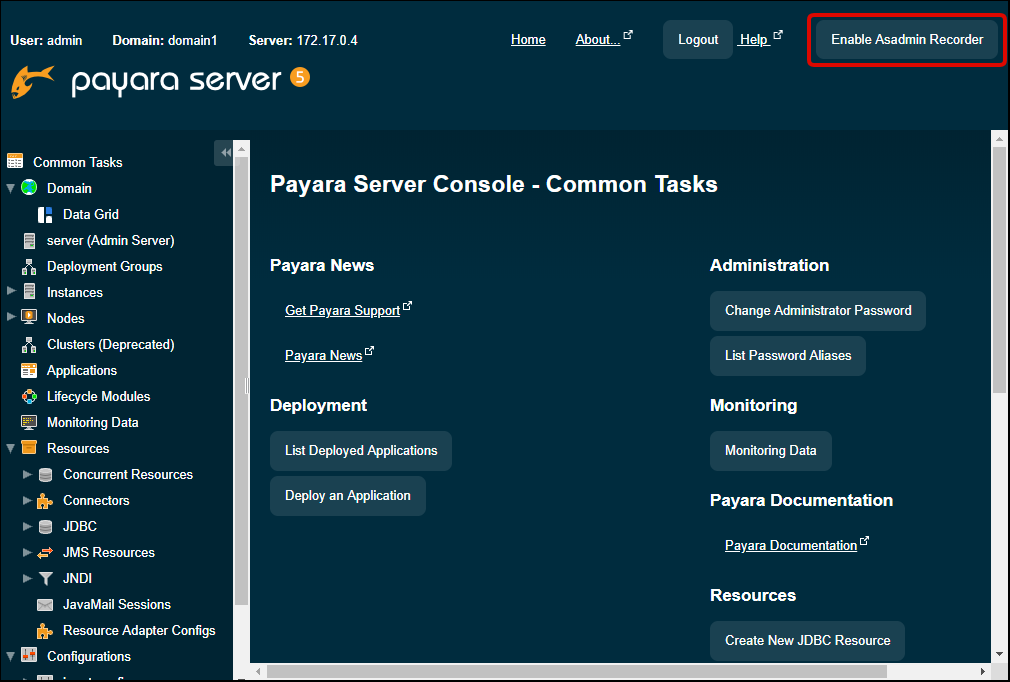 「Enable Asadmin Recorder?」と聞かれるので「OK」をクリックします。
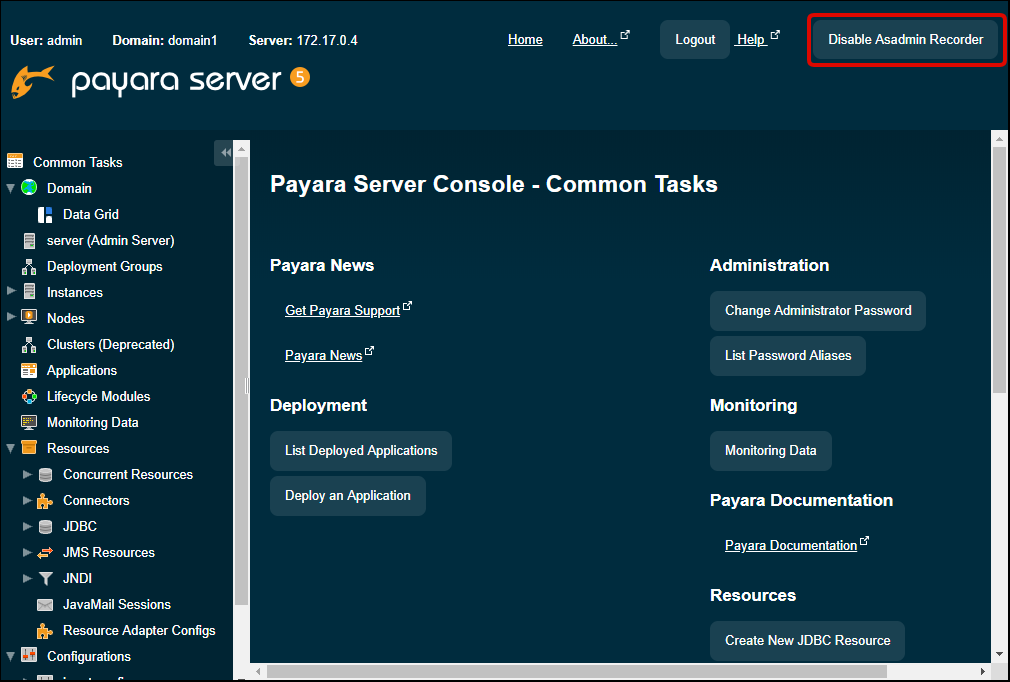 有効化されました。 これにより、以降管理コンソールでの操作が asadmin コマンドに変換され、glassfish/domains/domain1/asadmin-commands.txt に出力されるようになります。
3. 管理画面より設定を行います。
管理画面より適当に設定を行います。 ここでは、以下のドキュメントに書かれている Connection Pool の作成を行います。 PostgreSQL の Connection Pool の作成
4. glassfish/domains/domain1/asadmin-commands.txt ファイルを確認します。
以下のような内容が出力されているはずです。
glassfish/domains/domain1/asadmin-commands.txt
create-jdbc-connection-pool --validateAtmostOncePeriodInSeconds=0 --sqlTraceListeners=fish.payara.jdbc.SilentSqlTraceListener --statementLeakReclaim=false --ping=false --maxWaitTimeInMillis=60000 --wrapJdbcObjects=true --connectionValidationMethod=table --steadyPoolSize=8 --idleTimeoutInSeconds=300 --maxConnectionUsageCount=0 --matchConnections=false --connectionCreationRetryIntervalInSeconds=10 --associateWithThread=false --isConnectionValidationRequired=false --connectionLeakReclaim=false --datasourceClassname=org.postgresql.xa.PGXADataSource --connectionCreationRetryAttempts=0 --statementCacheSize=0 --resType=javax.sql.XADataSource --statementLeakTimeoutInSeconds=0 --failAllConnections=false --statementTimeoutInSeconds=-1 --lazyConnectionEnlistment=false --pooling=true --poolResizeQuantity=2 --allowNonComponentCallers=false --connectionLeakTimeoutInSeconds=0 --isIsolationLevelGuaranteed=true --maxPoolSize=32 --nonTransactionalConnections=false --lazyConnectionAssociation=false PgPool set resources.jdbc-connection-pool.PgPool.property.URL=jdbc:postgresql://localhost/iap_db resources.jdbc-connection-pool.PgPool.property.User=imart resources.jdbc-connection-pool.PgPool.property.Password=imart resources.jdbc-connection-pool.PgPool.property.PreparedStatementCacheQueries=0 resources.jdbc-connection-pool.PgPool.property.PreparedStatementCacheSizeMiB=0
5. asadmin を実行します。
上記の出力されたコマンドを実行することで、画面から実行した設定を CUI で行うことができます。 画面から PostgreSQL の Connection Pool を作成したため、上記のコマンドを実行することで、同様に Connection Pool を作成できます。 CUI から確認するために、一度画面から作成した Connection Pool(PgPool) を削除しておきます。 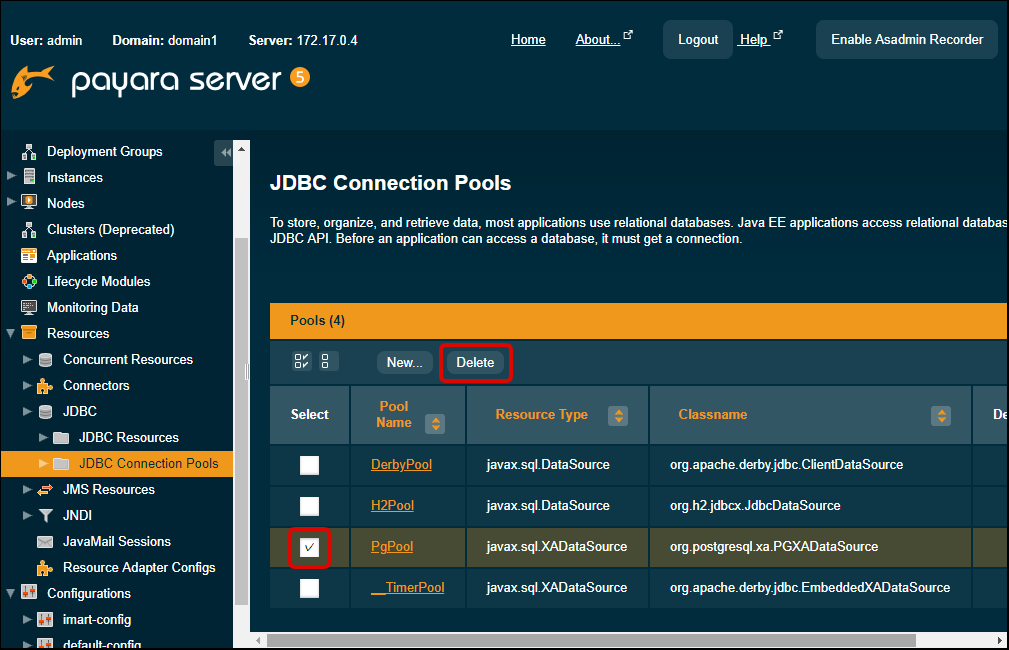 確認ダイアログが表示されたら「OK」をクリックします。
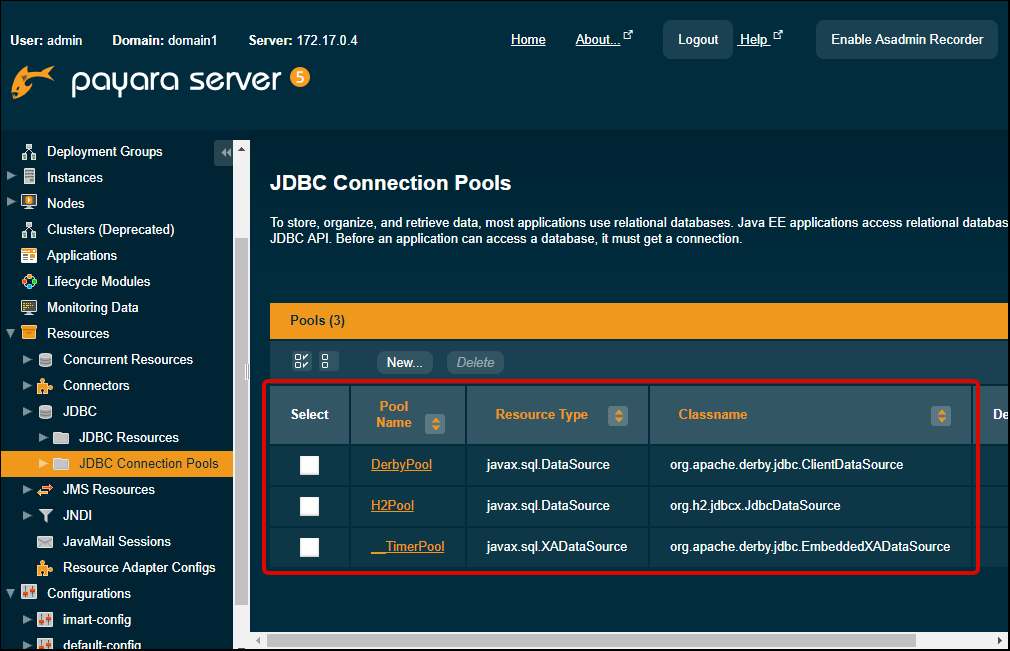 削除されました。 asadmin を実行します。
cd /var/payara/bin ./asadmin
1行目のコマンドを実行します。
create-jdbc-connection-pool --validateAtmostOncePeriodInSeconds=0 --sqlTraceListeners=fish.payara.jdbc.SilentSqlTraceListener --statementLeakReclaim=false --ping=false --maxWaitTimeInMillis=60000 --wrapJdbcObjects=true --connectionValidationMethod=table --steadyPoolSize=8 --idleTimeoutInSeconds=300 --maxConnectionUsageCount=0 --matchConnections=false --connectionCreationRetryIntervalInSeconds=10 --associateWithThread=false --isConnectionValidationRequired=false --connectionLeakReclaim=false --datasourceClassname=org.postgresql.xa.PGXADataSource --connectionCreationRetryAttempts=0 --statementCacheSize=0 --resType=javax.sql.XADataSource --statementLeakTimeoutInSeconds=0 --failAllConnections=false --statementTimeoutInSeconds=-1 --lazyConnectionEnlistment=false --pooling=true --poolResizeQuantity=2 --allowNonComponentCallers=false --connectionLeakTimeoutInSeconds=0 --isIsolationLevelGuaranteed=true --maxPoolSize=32 --nonTransactionalConnections=false --lazyConnectionAssociation=false PgPool
成功すると、以下のようなログが出力されます。(パスワードを聞かれた場合、管理コンソールにログインした際のパスワードを入力してください)
Enter admin user name> admin Enter admin password for user "admin"> JDBC connection pool PgPool created successfully. imart-instance: JDBC connection pool PgPool created successfully.
Command create-jdbc-connection-pool executed successfully.
続いて2行目のコマンドを実行します。
set resources.jdbc-connection-pool.PgPool.property.URL=jdbc:postgresql://localhost/iap_db resources.jdbc-connection-pool.PgPool.property.User=imart resources.jdbc-connection-pool.PgPool.property.Password=imart resources.jdbc-connection-pool.PgPool.property.PreparedStatementCacheQueries=0 resources.jdbc-connection-pool.PgPool.property.PreparedStatementCacheSizeMiB=0
成功すると、以下のようなログが出力されます。(パスワードを聞かれた場合、管理コンソールにログインした際のパスワードを入力してください)
Enter admin user name> admin Enter admin password for user "admin"> imart-instance: resources.jdbc-connection-pool.PgPool.property.URL=jdbc:postgresql://localhost/iap_db
imart-instance: resources.jdbc-connection-pool.PgPool.property.User=imart
imart-instance: resources.jdbc-connection-pool.PgPool.property.Password=imart
imart-instance: resources.jdbc-connection-pool.PgPool.property.PreparedStatementCacheQueries=0
imart-instance: resources.jdbc-connection-pool.PgPool.property.PreparedStatementCacheSizeMiB=0
resources.jdbc-connection-pool.PgPool.property.URL=jdbc:postgresql://localhost/iap_db resources.jdbc-connection-pool.PgPool.property.User=imart resources.jdbc-connection-pool.PgPool.property.Password=imart resources.jdbc-connection-pool.PgPool.property.PreparedStatementCacheQueries=0 resources.jdbc-connection-pool.PgPool.property.PreparedStatementCacheSizeMiB=0 Command set executed successfully.
管理コンソールより、CUI から登録した Connection Pool が確認できます。 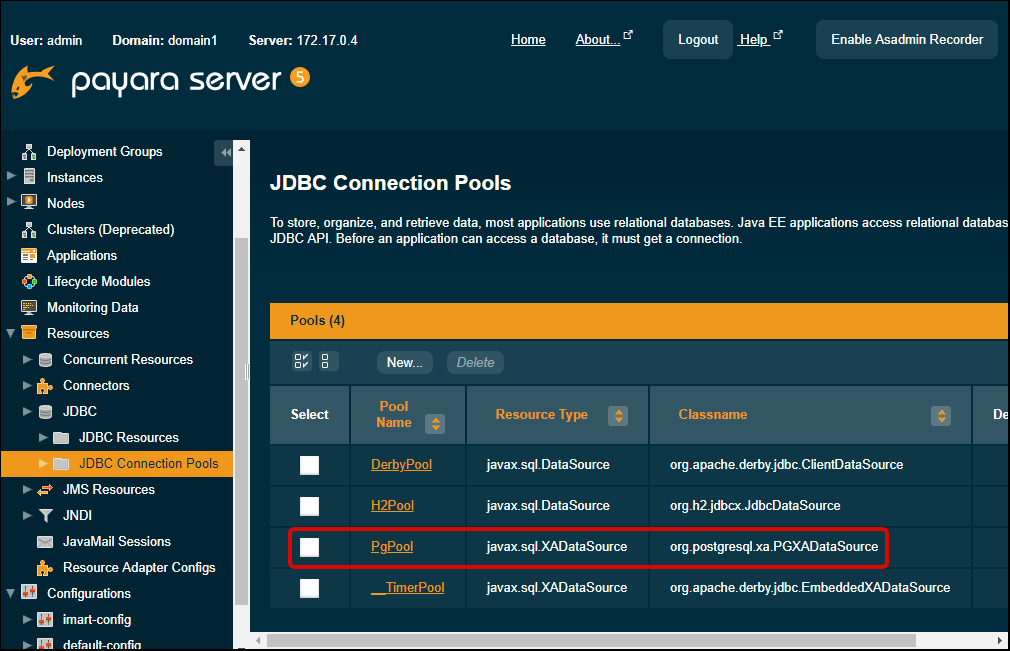 このように、Asadmin Recorder を利用することで管理画面で行った操作を CUI で実行することができます。 是非ご活用ください。